Available Versions of Arq 7
There are two versions of the Arq 7 backup application, these are basically the same albeit the Arq Premium version being based upon a $5.99 / month subscription for up to 5 devices and including 1TB of cloud storage directly from Arq themselves.
The main Arq 7 backup application does not come with any included cloud storage and is priced at a one-off $49.99 / per PC (you will need to provide your won cloud storage)
More details on either option can be found at the Arq website.
Installing Arq 7
Installing Arq 7 begins by visiting the Arq 7 website where a 30 day free trial version can be downloaded. At just over 10MB I was able to download and set running the installer very quickly and easily.
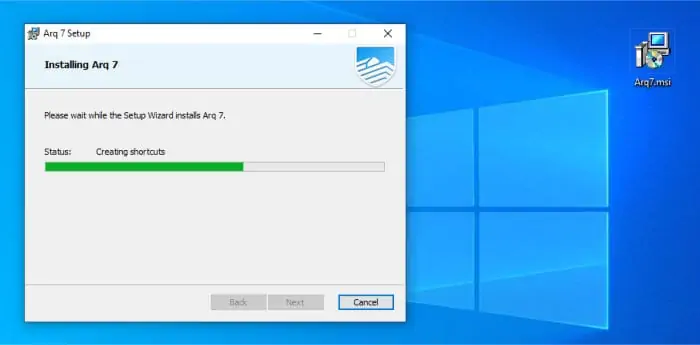
Very little user intervention was required during the install, just a couple of clicks and then the application was ready to use. When starting up Arq 7 for the first time we will be asked to provide a licence key or, alternatively enter an email address to begin the 30 day trial.
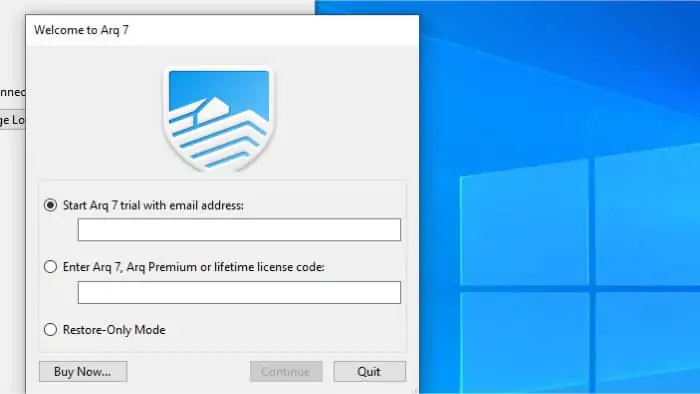
With the licencing or free trial confirmed, the application itself will now be ready to use!
Backing-up Data
Now we have the application installed and ready to use we can look at making use of Arq to make our first backup, we can begin by clicking “New Backup Plan” in the middle of the main window or from the applications main File menu.
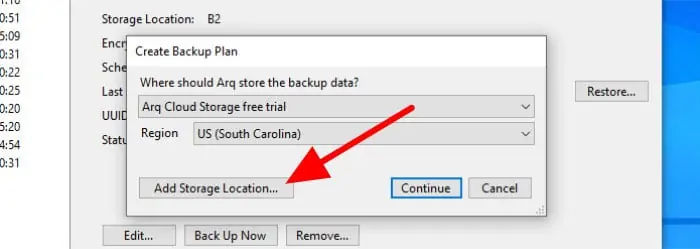
As can be seen above, the first thing we are asked to do whilst creating our backup is select a cloud storage location for our data to be stored upon, since this is our first backup using Arq 7 we will additionally need to configure a new storage location as well as the backup set itself (although this will then be saved for future use). Clicking on the “Add Storage Location” button towards the bottom right of the window will allow us to configure this first storage location.
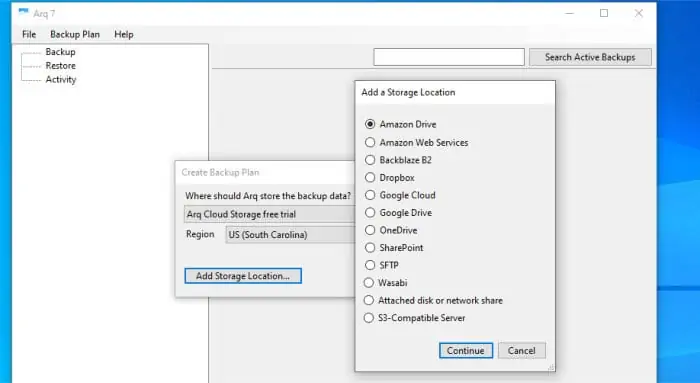
In the above screen shot we can see the wide range of third party cloud storage providers Arq 7 supports, for the purposes of my testing here I will be making use of Backblaze B2 service which will require me entering an “application key” obtained from Backblaze themselves in the next window to authenticate the Arq app with my B2 account.
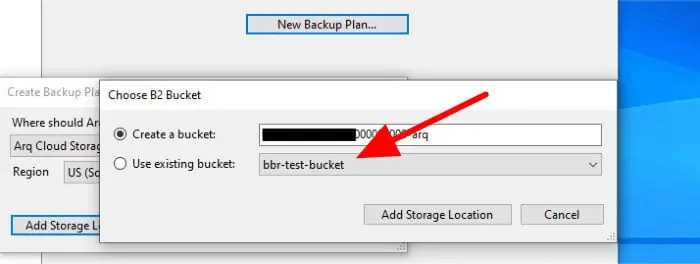
With the B2 Application Key entered, I will now be able to see any B2 “buckets” available for me to store the new backup within, this can be seen in the above image (“Bucket” is a term used by B2 for a segregated allocation of storage).
NB – Be aware that other storage providers might have different ways of authenticating their users and third party apps such as Arq 7!
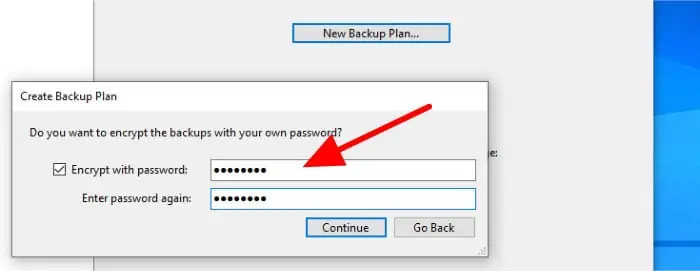
Next, as a part of the backup set configuration process we will be asked to (optionally) set encryption on any data backed up (making use of AES-256bit encryption). This is of course advisable to have set-up for any backup which will be stored in the cloud, even if you do trust the cloud provider!
With the password optionally set, the next screen we encounter will allow us to finish the backup set creation process with default settings applied should we want to (it will backup all user documents by default). Since I don’t want to simply make use of the program defaults I will click on the “Customise Settings…” button on this window to configure the backup set further.
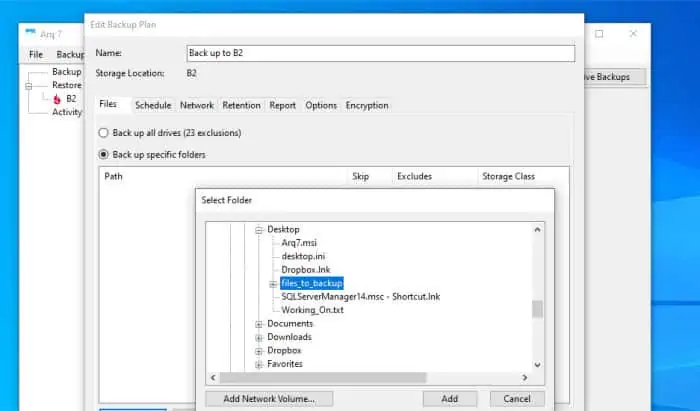
As can be seen above, when electing to further configure out new backup set further we get shown a window with several tabs, each of which can be used to configure a certain part of the backup set further. Starting with the “Files” tab (which is already showing) we can select specific files and folders to be included in the backup set, this can be a single file or folder or we can keep adding as many individual folders and drives as we like.
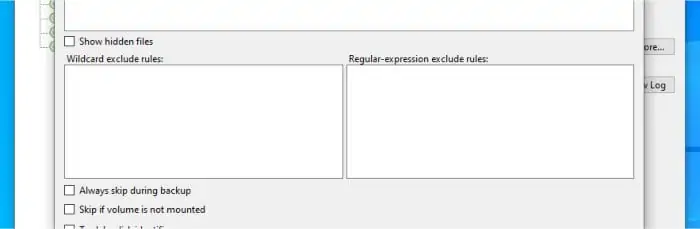
As well as adding files and folders we can also specify wildcard names to exclude (for example *.iso would exclude all ISO files). This is, of course, very handy to have but I would have liked to have seen a nicer, more user friendly interface for doing this task by version 7! (Example of this interface below):
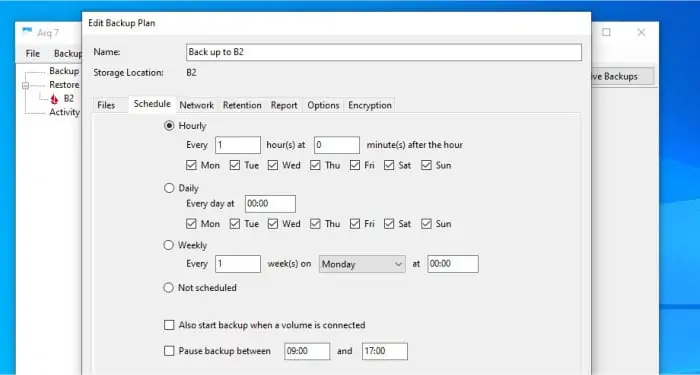
The next tab we come to is the scheduling tab, here we are given a very detailed set of options which make configuring virtually any schedule possible within Arq 7. Included is also the ability to do very frequent backups (e.g. every 15 minutes) as well as set “busy hours” whereby the backup can be paused between certain hours of the day, two things many other backup software products (still) don’t seem to allow!
Next, on the “Network” tab, we have the ability to limit the bandwidth used by the application whilst taking backups, Arq have also included an option to apply such settings only on certain days and times should we need to (again, this is great to see as this bandwidth setting is usually all or nothing with many other backup software providers).
The “Retention” tab is where we can configure the historic version retention periods for our backed-up files. This can be done by simply setting a fixed allocation of storage (or monetary cost when using AWS S3) to keep within or, alternately, by specifying how long files are to be kept in hours, days, months etc.

Interestingly, Arq 7 also allows us to apply these retention settings in such a way that older versions of any files will automatically be kept in lower numbers than newer versions. For example, (as in the above image) we can opt to keep all hourly versions of a file for 24 hours and then keep only one (final) version per day for the next 30 days and so on. This is fairly unusual to see but such an approach recognises that most users don’t need to keep multiple versions of files made within the same day for longer than a few days (max) and will, in turn, also help in keeping storage costs manageable.
Next, we have a “Report” tab where SMTP details can be added to allow the sending of email based reports (for completed backups and / or any errors which are reported). Whilst SMTP details are required on the standard version of the application, Arq do provide an email sending service for those on the Premium version (with cloud storage included for $5.99 / month).
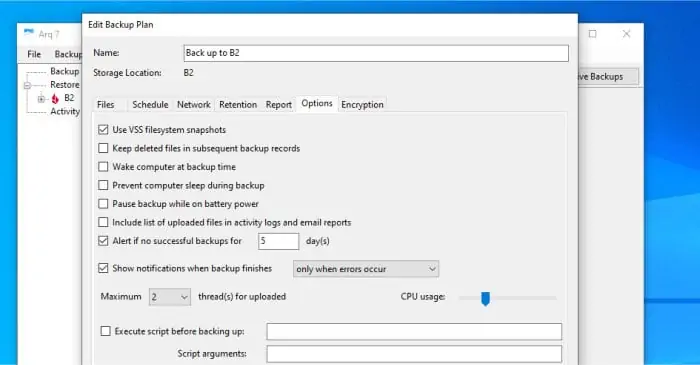
Next, the “Options” screen is where we will find lots of smaller settings which we might need to apply to our backup set or the application itself as a whole. Options here include handling sleeping computers, creating alerts when backups are missed, specifying how many of the system resources can be used (e.g. CPU usage) and (optionally) the running of any scripts before or after the backup.
Finally, we have the “Encryption” options tab, unfortunately we cant do much here other than set a password or change an existing password. This shouldn’t be an issue for most people but some other backup software providers do let you choose the level of encryption applied, useful if you prefer higher security at the cost of slower backups or visa versa.
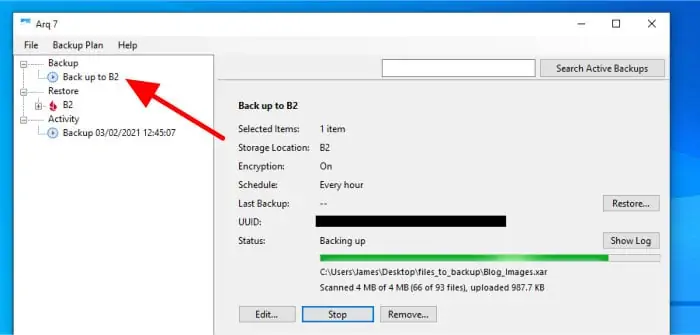
With all of the above settings configured we can now save the backup set, this set will now be visible on the left side of the main application window and when selected can be run manually or left for the scheduling engine to pick up:
Now we have our backup set configured, we can let it run and then look at restoring files in the next section.
Restoring Data
Now we have a backup set running we can start looking at the restore process. Before getting into this process too far I would like to start by pointing out a really useful feature I like about Arq Backup, this is the “Restore-Only Mode” of the application we can select whilst installing.
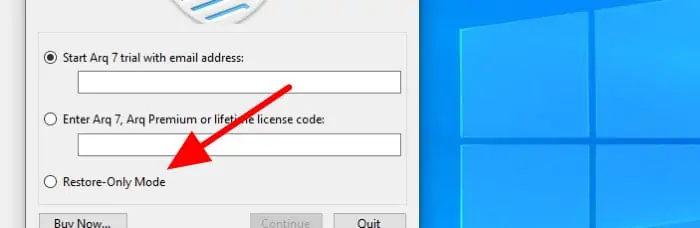
Basically, in restore-only mode we can install and use the application without any of the usual licencing restrictions affecting our usage. In reality, this means should the licencing infrastructure behind Arq 7 become unusable in any way (e.g. technical problems or the company ceasing to exist) we can still install and use this software to connect to and recover our files.
With the restore-only mode aside, we can begin the restoring of files within the main application, this begins by selecting the backup set to restore from (on the left side menu) and then clicking on the “Restore” button in the middle of the window. Once in the main restore screen we must do two important things to ensure we get the correct files:
Firstly we need to be aware of the historic versioning which might be turned on for our backup set, this means, using the options on the left menu, we must ensure the correct date to restore form is selected.
Secondly, with the correct date selected, we must select the files to be restored. This can be done by picking one or more files or folders using the file picking tool or by searching for the required files using the built-in search functionality atop the window.

With the version (date) and files to be restored both selected we can begin the restore, the application will at this point ask us if we want to restore to the original locations (with an option to overwrite), the desktop or another location.
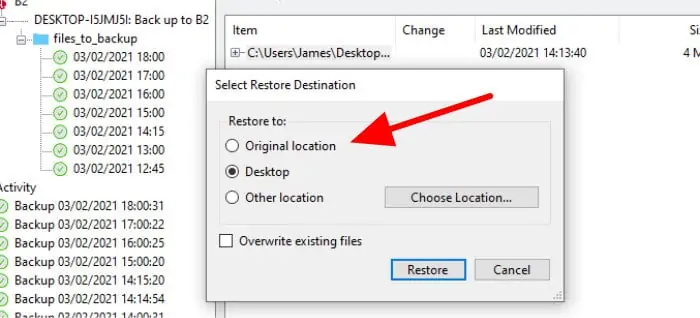
And with this location selected the restore will be run, the main window of the application will show progress of the restore and inform us when the job is finished.

Advanced Settings
One of the main advanced features within Arq 7 is a tool for importing settings from Arq version 5, this will no doubt appeal to any users moving across from this older version to the current version.
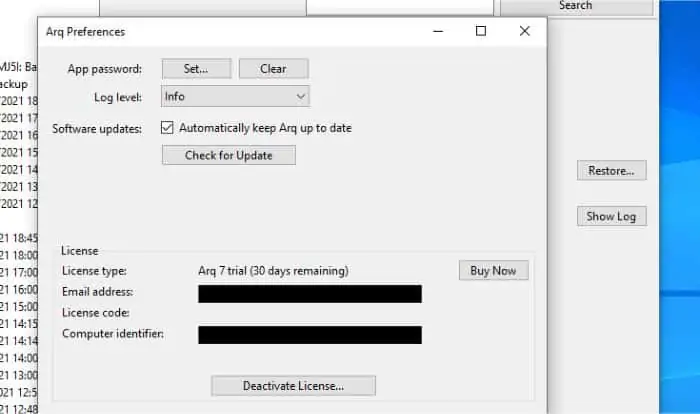
With this tool aside, if we go to the main application “Preferences” screen we can configure settings such as a password for opening the main application, turning on / off automatic updates and set options for managing our Arq licence (might we want to de-activate it and move to another PC).
*** Be Aware of Cloud Storage Fees when using Arq Backup ***
I just wanted to append a small section to my review to make any potential Arq 7 users aware of the potential cost of cloud storage and how this might affect you. Whilst some providers issue a fixed allocation of storage for a fixed cost (e.g. Google Drive provide 100GB for $19.99 / year), some other providers such as AWS S3 price their service per GB used / per month. This means that with some storage providers the more data you store, the more you will end up having to pay (so please keep a check on this and make use of any budgeting tools from the provider if available).