One of the most infuriating problems to come across whilst using a laptop computer is that of a broken screen! Not only does a broken screen make a laptop practically unusable in many circumstances, but it can also mean that any valuable data which resides on the device will suddenly become much more difficult to access!
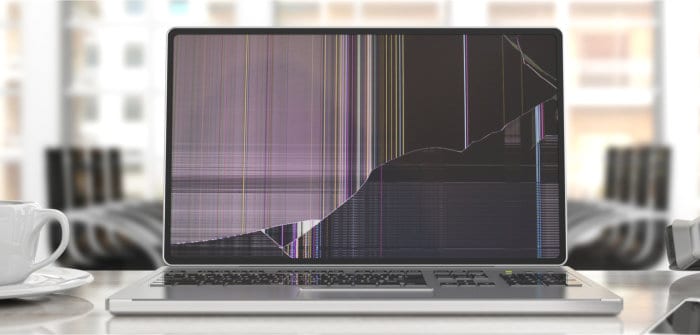
In this guide I will be looking at some of the best ways for dealing with a broken laptop screen, this is with specific regards to backing-up and accessing any important data which might be stored upon it. Of course, there is no substitution for having a good backup solution in place to begin with, something which, in the case of a broken laptop screen, would mean that any important data is already backed-up and accessible on either an external hard drive or off site on a reliable cloud storage service.
The first part of this guide starts with a “quick fix” of sorts, this is making use of an external monitor whenever possible as a workaround to a broken screen before looking at some more in-depth methods for data recovery.
Using an External Monitor
One of the easiest “quick fixes” to backing-up or accessing any data which might already be stored upon a laptop with a broken screen is to make use of an external monitor in order to use the laptop like it would normally be used. Most modern laptops will feature some kind of external display port (such as Display Port, USB3 or HDMI) which can be used for attaching an external monitor or compatible display such as a TV set if you have one to hand.
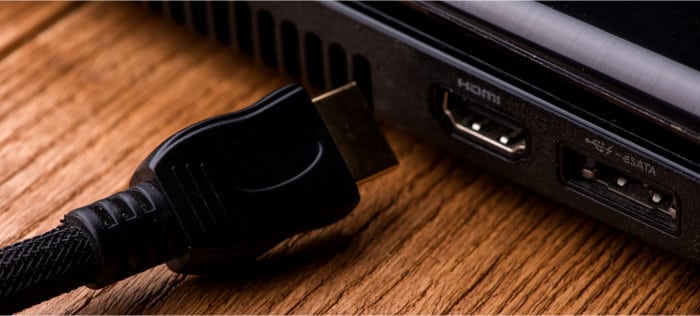
If you can get hold of an external display of some kind (and crucially the power needed to run it) then this will essentially allow you to continue using the laptop in somewhat of a usual manor. At this point, the next step will be to start extracting the data, a process I will look at in more detail a little later on in this guide.
Of course, there are many cases when attaching an external monitor simply isn’t practical, these can include times when you might be travelling away from home or the office and have no access to such devices or the power to get them working. With this (and other) restrictions on using external monitors in mind, we might need to find a different solution for recovering such data, something I will look at further in the next section of this guide.
Accessing Hard Drive Data Directly
In the previous section of this guide we discussed the possibility of recovering data from a laptop with a broken screen via use of an external monitor. Whilst this might be a plausible solution when such a device is available, the fact is there are many times (such as when travelling) when using such an external monitor simply isn’t possible. There is also the possibility that, due to any potential problems with the graphics processor built into the laptop itself, we still might not be able to operate the broken laptop even with an external monitor attached. In these cases we need another solution!
With no access to the visual output of a laptop device, one of the next best ways for recovering the data stored upon it lies in extracting it directly form the device’s hard drive itself, a task which will (unfortunately) in many cases involve taking the cover off the bottom of the laptop in order to gain access to the physical hard drive itself.
NB – When attempting to access your device’s hard drive, always be sure to check the documentation for your specific model of computer and be 100% sure you are opening the laptop case in a safe and correct way!
Once the laptop case has been opened and the storage device removed, we can start looking at connecting to this device to another working computer and extracting any data form within. Providing you laptop computer is a fairly modern device, there is a good chance that the disk drive which is installed will make use of a SATA connection between itself and the motherboard of your laptop (an example of which can be seen in the image below).
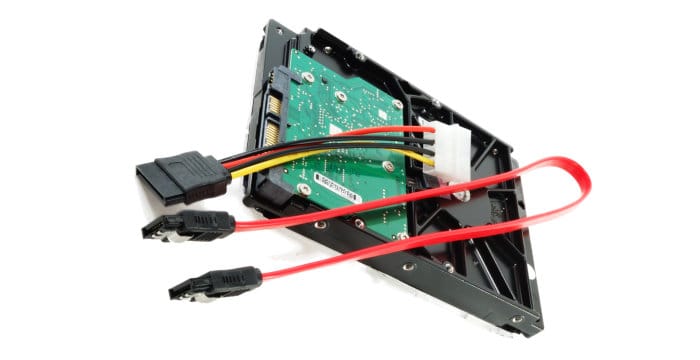
If you device is confirmed as using a SATA connection then connecting to this hard drive once it has been removed from the device is a relatively easy task, this is thanks to the use of either a SATA to USB adapter cable, a desktop device with SATA ports on the motherboard or an external SATA hard drive caddy which can be opened up and used in much the same way as the USB adapter cable.
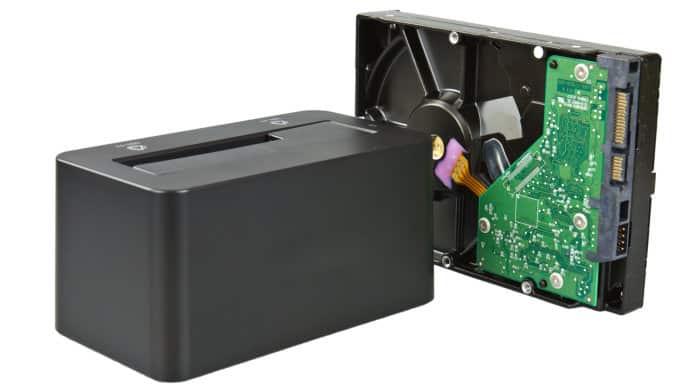
As can be seen above, connecting the SATA adapter cable to the laptop’s hard drive and then to the USB socket of another computer will allow us to access the hard drive in much the same way as we might an external hard drive or USB flash drive. This means that the data from the broken laptop will be accessible via its hard drive and can simply be copied across to the working device or another external hard drive which might be attached to this same computer!
NB – In such a situation, when copying data across from a disk, be mindful that much of the data on the disk might not be needed. For example, when copying over a Windows users data (in almost all cases) only the Windows user profile folder itself (e.g. C:\Users\James) will need to be copied with the Windows system files most likely not needed.
If you have a newer laptop device then you might notice that you have a newer style M.2 hard drive installed instead of the more commonly found SATA variation which has already been seen so far, an example of this M.2 connection can be seen below.
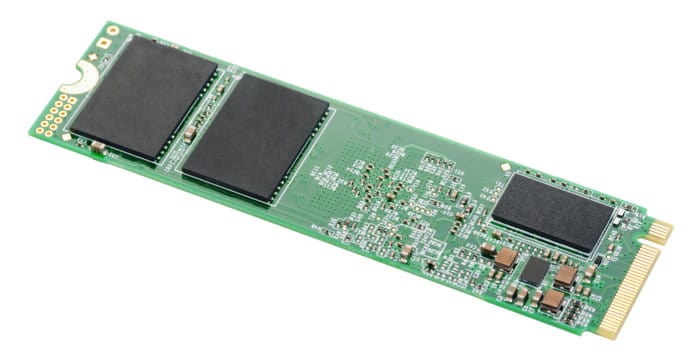
In cases where we see an M.2 solid state drive installed, the process of connecting the device to another working computer and copying across the data remains much the same as it was with the SATA device. The main difference when working with an M.2 device is to make sure you obtain a compatible M.2 to USB adapter (or compatible external hard drive caddy) in order to make this crucial connection to the secondary computer in the first place. Once connected via such a device (or via a desktop computer with a spare M.2 socket on the motherboard) then the copying of files across to the secondary computer can start taking place.
Migrating a Laptop to New Hardware
So far in this guide we have seen two commonly used methods for easily extracting data from a laptop with a broken screen. In this section I will look at the process of migrating an existing laptop system over to a new device, something you might have to consider if you screen is, for whatever reason, unviable for simply been repaired.
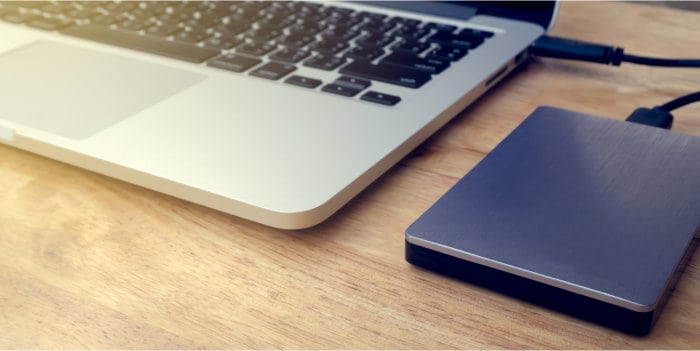
In such cases, when migrating from a broken laptop to a new device, we could simply copy the user data form the broken device directly over to a new laptop device later on. Whilst this process would help ensure that any important documents would make it to the new device, it would also mean we would have to re-install many of the applications which were previously in use as well as potentially re-configure many others later on.
In cases where keeping all installed applications and system settings in-tact from the broken is important, we can optionally make use of disk imaging technology in order to migrate our existing system (with a broken screen) over to the new device. Disk imaging technology is an advanced technology and has the ability to select all data across the entire disk (including the operating system and any installed applications) and move it across to an existing disk already installed in the new device.
NB – I wont be going into the technical details of this approach during this article, but take note that a good piece of disk migration software such as those found in our best disk imaging software guide can be very helpful in accomplishing this task!
When opting for this disk migration approach, it is also important to look for disk migration software which supports performing migrations to dissimilar hardware. This dissimilar hardware component is very important as the new laptop (in almost all cases) will probably be different to the one it is replacing and the new hardware and drivers must be accounted for. If choosing to take this migration approach, I would recommend software such as EaseUS Partition Master, MiniTool Partition Wizard, AOMEI Partition Assistant or Macrium Reflect to make this process as simple and reliable as possible.
Conclusion
Finally, if you have been having issues with from laptop with a broken screen, then by this point I hope you have an action plan to recover your important data and also get up and running on another device. I would also like to use this final section to point out the importance of getting a solid backup strategy in place on your new or repaired device as soon as it is possible to do so!
Whilst a broken screen on a laptop is annoying, in all reality it is relatively easy to recover from given the right tools and there is much worse in the world which could, in many different ways, cause the loss of access to your data entirely (e.g. malware and ransomware attacks, hard drive failures, fire, theft etc.). With all of this in mind, as and when you do regain access to the data from a broken laptop, be sure that one of the first things you do is install and make use of a reputable backup solution!
If you need help and guidance in setting up such a backup solution then I would recommend looking at our guide to choosing backup software. Not only does this guide explain how to get yourself backed-up but also contains a full list of many of the backup titles which are available on the market as of today!
